-40%
Lap Steel Guitar 22.5 Scale Conversion RetroFit Kit Nut-Bridge-FretBoard BTP EDG
$ 10.55
- Description
- Size Guide
Description
Several Import Lap Steel Guitars Sell on eBay under the Brand Names including Rogue Rosetti Artisan.These lap steel guitars are 21 scale with low quality normal Guitar bridge Saddles and Formed Plastic nuts with normal guitar spacings.
GeorgeBoards has created a DIY KIT to convert your import lap steel guitar into a playable 22.5" scale
with string spacing and height found on Professionally Made Modern Slide Steel Guitars.
The Kit includes a Black Color
3D Printed Tough PLA Polymer Composite
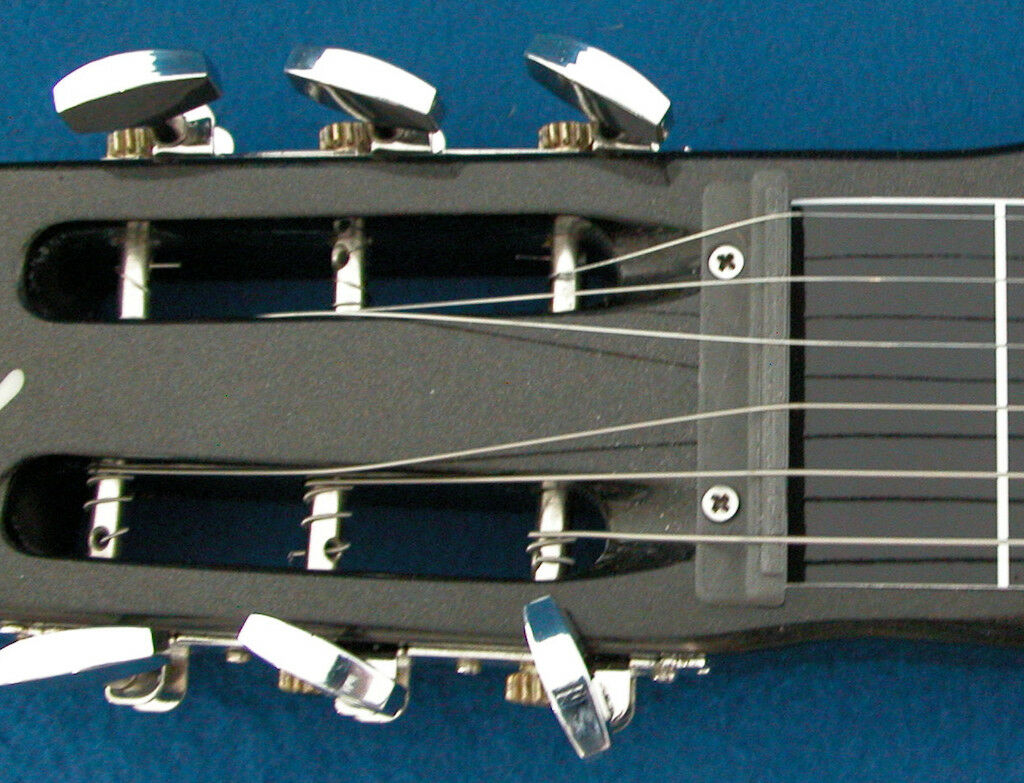
1/2" Tall Nut Bridge - 3/8 Nut - .390 Bridge spacings
VGrooves for string gauges .056 - .013 or similar.
Black peel n stick 22.5" scale Fretboard pre cut to fit the above mentioned Brands.
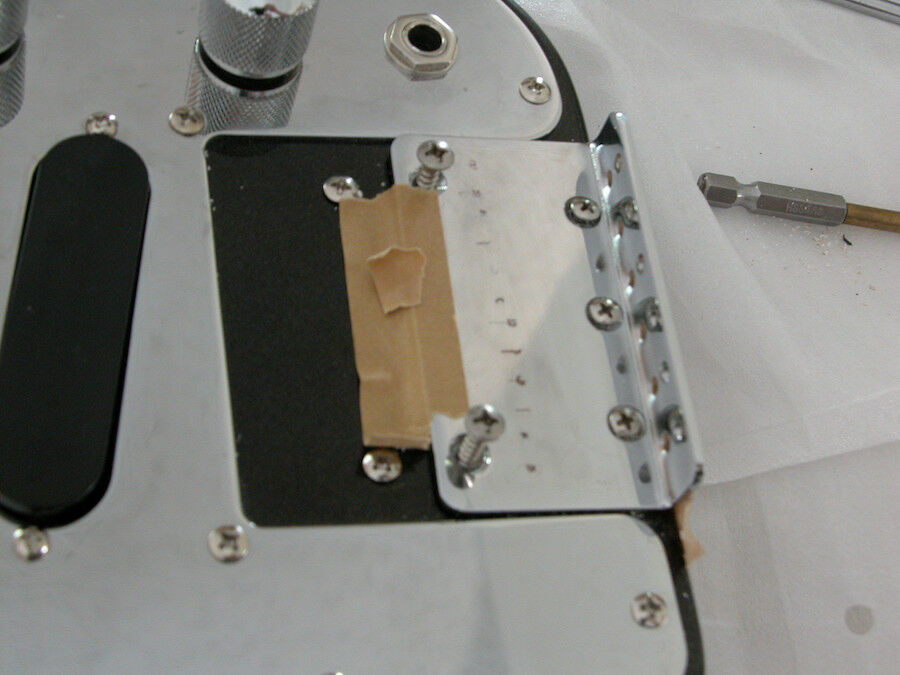
The Above Photos are to help you visualize the RetroFit you will be doing to your lap steel guitar.
Many folks are using these kits to make their own custom lap steel guitar to their desired shape.
_____________________________________________________________________________
It takes only an hour or so - hand tools a battery drill - tape measure to quickly convert your new steel guitar into a professional playing and sounding instrument with our RetroFit Kit
1 To make the RetroFit you remove the strings - plastic nut - guitar saddles - plastic fretboard.
2 Remove the Screws and save them from the metal piece under the saddles.
3 Move the metal piece back to the edge of the end of the guitar. Blue Tape it to the edge to hold it in place.
4 Use your tape measure to place the New Nut and Bridge temporarily - use the new fretboard to help place the nut.
5 Make sure the Bridge is in front of the 3 screws at the back of the guitar not on top of them.
6 Blue tape everything for temporary alignment. Tweak all of this until it lays out nicely.
7 Mark where the Bridge hold down holes are going to go through the metal plate and into the wood below.
8 Remove the metal plate and drill holes through it on a separate area so not to drill into the guitar.
9 Return the metal plate and attach it to the guitar with the 3 little screws and 2 or the larger screws in their
original holes except in their new positions.
10 Use 2 of the original larger screws to fill the holes in front of the metal plate.
11 Use your tape measure to place the nut and bridge at 22.5" - Blue tape both.
12 Use #4 X 3/4" Sheet Metal Screws to hold down the Nut and Bridge at 22.5"
Make sure the fretboard fits in front of the metal pickguard plate. Measure multiple times before drilling.
13 Make sure the little ground wire is under the metal plate you moved back. The plate is your string receiver.
14 Fill the holes from the plastic fretboard with chalk - putty - spackle - whatever.
15 Clean off any debris or oils with rubbing alcohol and peel n stick down the new fretboard.
16 Replace the original strings with new gauged strings for your choice of tuning the VGrooves will fit lighter and heavier gauges.
17 Remember this is an Open E - D - G type tuning Spacings 3/8 nut - .390 Bridge VGrooves for .056 - .013 gauges or similar.
18 Bring it up to pitch and adjust the pickup height to taste.


